
Intensity Targets
Intensity Targets are used to track against intensity metrics that are configured by using the Ratios feature. Intensity targets can be configured against locations, groups, or the entire organization. Unlike bottom-up targets, they do not roll up so targets at each level are independent of each other.
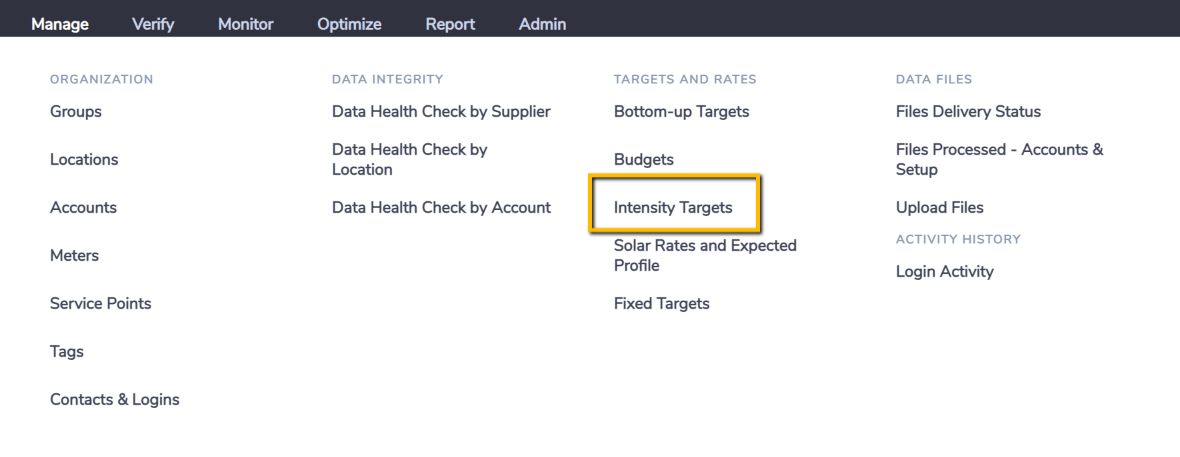
You can find the Intensity Targets grid in the main Manage menu under the Targets and Rates section.
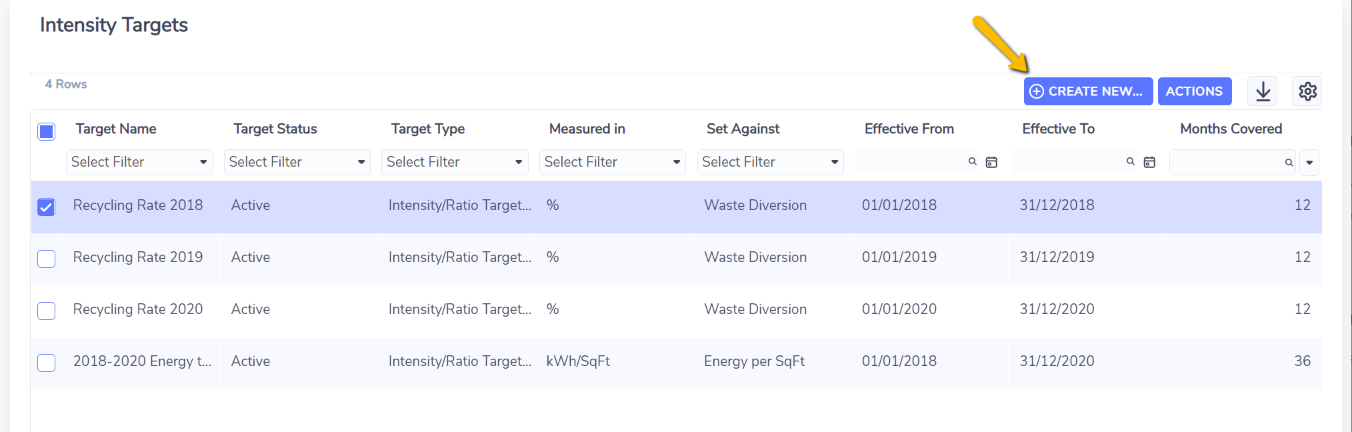
When you are in the Intensity Targets grid, click Create New.
You will see a form to create a new Intensity Target.
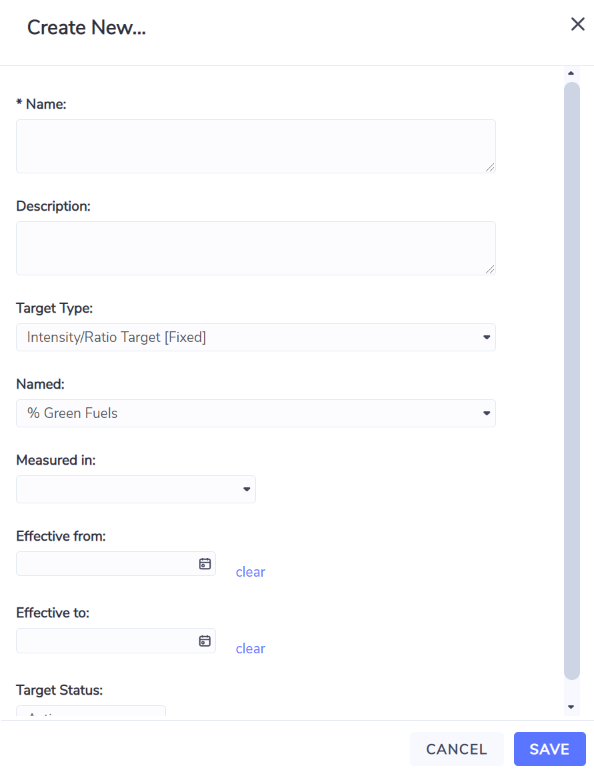
Name. The name of the target. It's a good idea to include the years that the target is for in the name (For example “Energy Intensity targets 2023”).
Description. Useful for recording the purpose of the target you are configuring.
Target Type. Defaults to the standard intensity target.
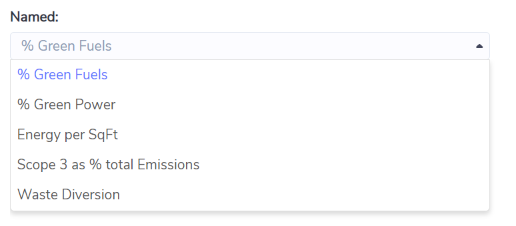
Named. A list of all the ratios configured. If you have not configured any ratios yet the list is blank and you won't be able to create your target.
Measured in. Defaults to the unit of measure you set for your ratio.
Effective from. The start period of your target. When capturing new target data in this container this is the default start date.
Effective to. The end period of your target. When capturing new target data in this container this is the default end date.
Target status. Only active targets are available in the Rate Analysis dashboard.
In addition to the previous elements of an intensity target, the grid will have some extra columns.
Months Covered. Based on the Target Data within the Target and indicates the maximum number of months between the earliest and latest month of target data.
Location Targets. Indicates how many months of target data are recorded against locations. A one-year target for one location would mean 12 months of targets.
Group Targets. Indicates how many months of target data are recorded against groups.
Organization Targets. Indicates how many months of target data are recorded against the organization.
Grid Actions
Right-clicking on a target in the grid will bring up a list of actions you can take.
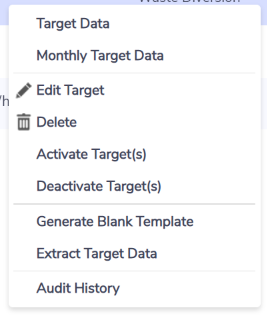
Target Data. This will take you to the full period target data grid. This is the best page for entering target data if you don't need to vary your values monthly.
Monthly Target Data. This will take you to the monthly target data grid. This is the best page for entering target data if you need to adjust your values month to month.
Edit Target. Edit the parameters of the target.
Delete. Delete the target and all of its target data.
Activate Targets. Activate the selected targets. Note - you can only have one active target per Ratio or Rate for any particular time period.
Deactivate Targets. Deactivate the selected targets.
Note: For intensity targets, any changes to the status of the target will be immediately reflected in dashboards and reports as this target data is live (accessed directly) and not based on the daily refresh of target data.
Generate Blank Template. Brings up the selection screen to run the Blank Target Data Template report that is used to capture target values in an excel document that can then be submitted back to the platform to create those target values.
Audit History. See all changes that are made to the selected target. Audit history does not show changes made to the target data stored in the target.
Dashboards
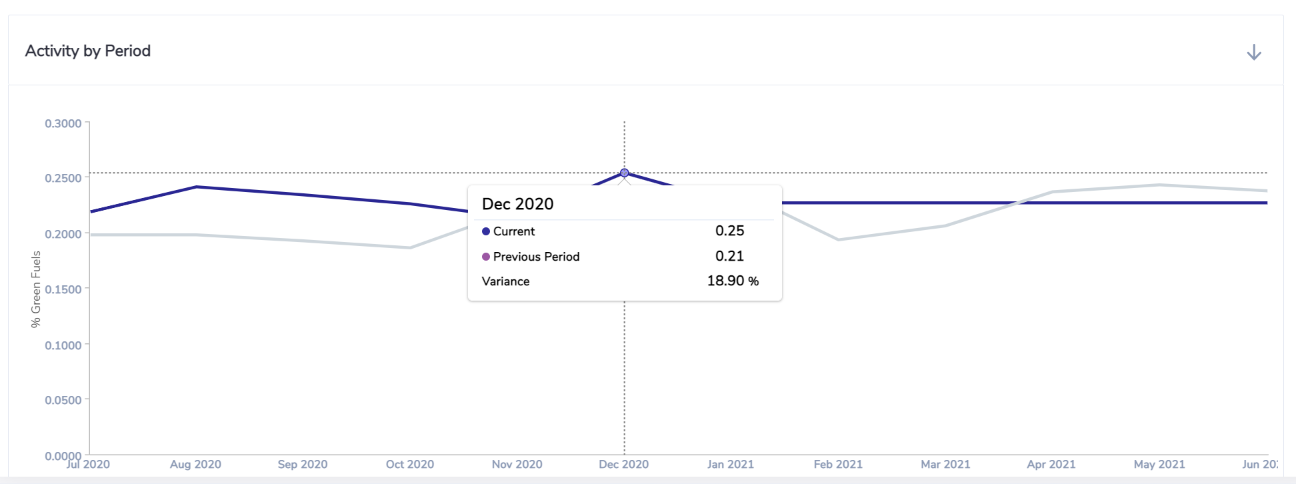
You can compare against your intensity targets in the Rate Analysis dashboard by choosing the Compare with Target option (note that the compare with target option appears only if you have active intensity targets configured).

This will compare your actual Ratio/Rate/Intensity data to any active targets for the Rate/Ratio specified on the dashboard.
Reports
To report on your intensity targets, you can access the intensity targets in the PowerReport Monthly Data Set when building a custom PowerReport.
There are sections for the Ratios (the actual intensity values) and the intensity targets at organization, group, and location level.
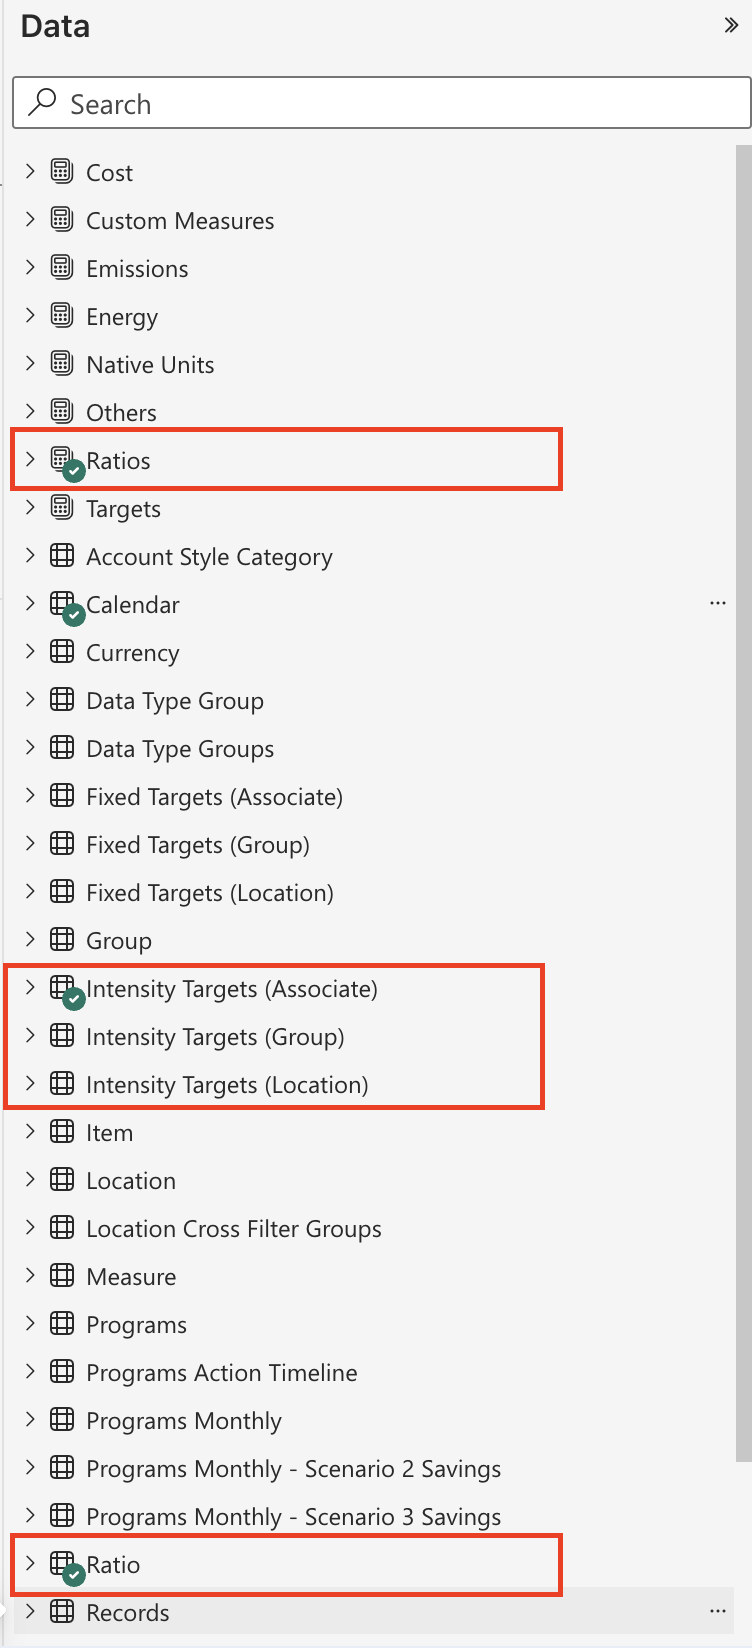
These can be used to build custom tables and visuals.
