Setting up Ratios or Rates
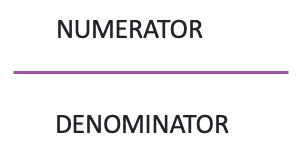
Ratios (also called rates or intensities) are metrics that compare a numerator to a denominator.

Some typical examples of Ratios include;
Waste diversion rate
Energy intensity per floor area
Water consumed per unit produced
Emissions per person
etc.
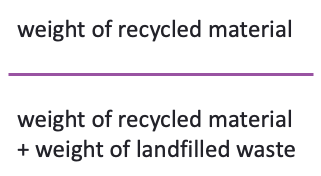
For example, waste diversion rate is typically defined as:

If you are a system administrator of Envizi, and you have previously configured Data Type Groups, you can set up a Ratio or Rate from the main Admin menu. Under the Configuration section select Set Ratios/Rates.

Once you are in the Ratios grid, click on Create New.

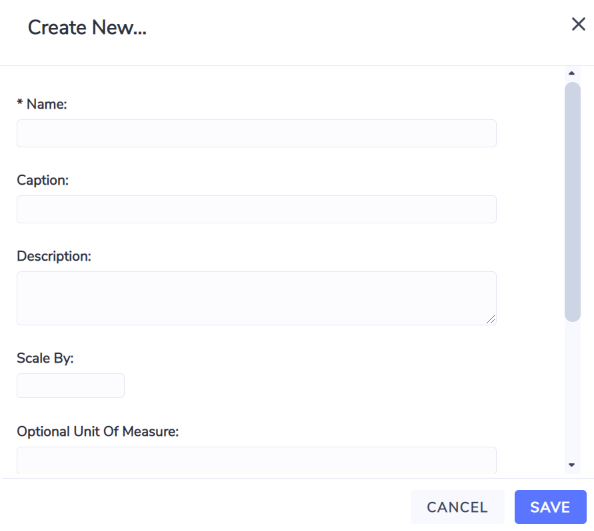
You will now see a form to create a Ratio.

Name - Mandatory. This is the name that will be used in the system unless you configure a Caption.
Caption - Optional. This label will be used in preference to the Name if configured.
Description - Optional. Useful for recording the purpose of the Ratio you are configuring.
Scale By - Optional. Can be used to change how your ratio is presented in Envizi. For example, if you were tracking a waste diversion ratio you might want to present that as a percentage value so you would enter a Scale By of 100 to turn the values into a percent figure.
Unit of Measure - Optional. This will be the unit of measure reported out when viewing your Ratio in dashboards or reports. In the previous waste diversion ratio example, you might want the unit of measure to be "%".
Sequence - Optional. This can be used to change the order of your Ratios in dashboard dropdowns and reports.
Numerator Measure Group. You must select the Data Type Group that you wish to use as your numerator. If you have no options to choose from that means that you first need to configure your Data Type Groups.
Denominator Measure Group. You must select the Data Type Group that you wish to use as your denominator.
Once you have configured a ratio you can view your ratio data on any of the Rate Analysis Dashboards.
