
Setting up User Interface Preferences
In Organization Preferences, under the section General Preferences, click on User Interface Preferences.
Enabling Multi-Language
To enable your users to select a supported language, other than English, in their Personal Settings, set Multi-Language Support to Yes.

When you set Multi-Language Support to Yes, the translated versions of PowerReports will be available within 24 hours
When a user changes their language, due to Microsoft Power BI caching data, it may take up to 30min before this change is reflected in any PowerReports
Adding your Logo
You can add your organization’s logo to appear on the home page.
The logo displays beside the Welcome message on the home page (see figure 1).
Figure 1 - Logo example
Requirements for the logo include:
The file is in PNG and JPEG format.
The file can have any name. However, when you add the file to the Organization, you must name it Org_logo.
Go to Monitor > Organization Summary, open the right hand panel, open up Attachments, click ADD an upload your logo as an attachment named Org_banner.
Setting up your Home Page Banner
The purpose of the home page banner is for you to be able to convey a message to your users to inspire them about using Envizi to help your organization achieve your ESG (or other) goal. Having a banner display on the home page is optional.

The banner is made up of 3 elements:
An image of your choice that is relates to other collateral and branding your organization may already be using in relation to ESG (or other) goal.
If the image is a picture and you want to include text which is you want flexibility to change without changing the image, then you may want the right hand side of the image to have a plain background color of your choice so that the text which is overlaid on top of it (see point 3) will be legible. This background color would be part of the image that you upload. Ideally the background color is styled in the same way as the example above with a diagonal edge for aesthetic reasons. Please use the above image as a guide to including a background color.
Text that appears on top of the image on the right hand side over the plain background color section of the image. The advantage of having the text and image separate is that you can change your message without having to replace the image. Also including text within an image is not scalable for different screen sizes and resolutions so design best practice is to not include text within a banner image.
The dimensions of the image should be 1264 x 180 pixels or bigger as long as that portion is maintained.
Image should be hi res or exported as 2x resolution.
The image will be resized responsively to your screen size and thus the image will be cropped from the bottom and or left on certain screen/zoom settings.
If placing a logo or important imagery, it should be located in the top left or in the top part of the image to reduce the risk of it being cropped.
Uploading the banner image
Go to Monitor > Organization Summary, open the right hand panel, open up Attachments and click ADD. The attachment Name needs to be Org_banner and the file attached can be named anything as long as its either a jpeg or png.
Uploading the text
Go to Admin > Organization Preferences > Home Page Banner.
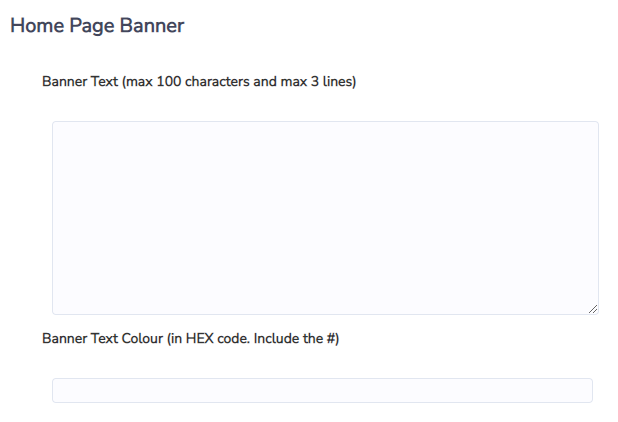
You can enter whatever text you want up to a maximum of 100 characters, including spaces. Its best that the text is short and can be entered on 3 lines.
Then enter the color for the text (because depending on the background color used in the image a text color will need to be specified that is legible over the background color). The code must be entered as HEX and include the # as the prefix.
Click Save.