
Manually Capturing Data (Records)
Envizi provides you various options for manually capturing data in order to support the varied ways in which clients capture data and the processes they follow.
Here are scenarios for data capture that may suit your processes.
Note: you cannot capture account data (Records) for accounts that do not exist in Envizi.
Finding the correct Account
Finding the account that a record (usually a bill / invoice) belongs to is the first step in your capturing the record. Envizi supports a number of mechanisms to suit different use cases and processes.
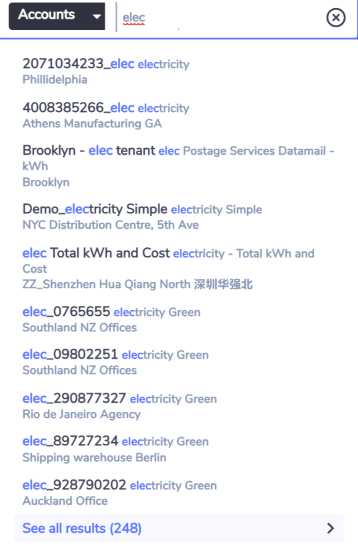
Global Search
You can use the global search to find an account based on various criteria:
Account number
Account reference
Location
Supplier
You will then presented with 10 results plus an option to view all results (if there are more than 10). Clicking the view all results will take you to a search results grid of accounts.
Grid Filtering
The accounts grid allows you to filter on any column in order to narrow down your list of accounts to find the one you are looking for.

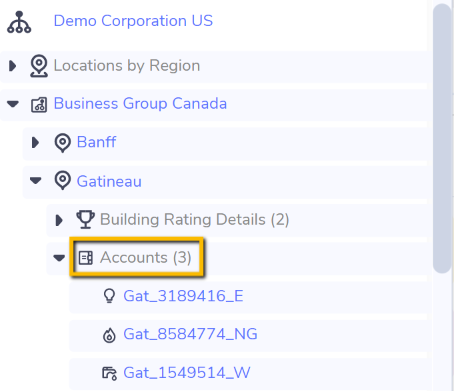
Organization Hierarchy
The Organization Hierarchy (found in the felt hand preview panel) allows you to use a tree view of your organization hierarchy to find the location and then find the account you are looking for.
Confirming that the Correct Account has been Found
There are various ways for you to confirm that have found the account that matches details on the Invoice you are processing:
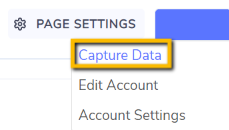
Columns in the accounts grid to view more details about the Account. You can then click Actions or right click on the account to find the Capture Data tool.
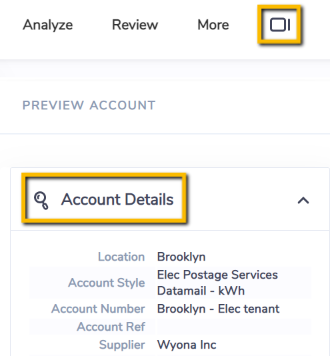
Right hand preview panel to view more details about the account
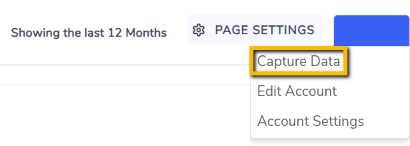
Account Summary page to view up to 12 months history and Records for that period.
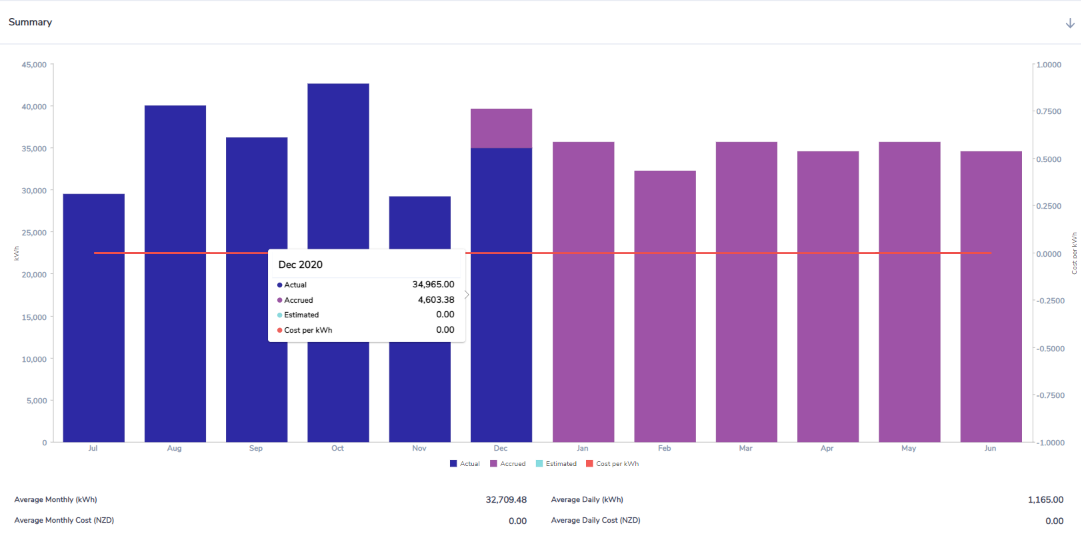
You can then click Actions > Capture Data in the top right of the summary page.
Checking that the value of the Record to be captured is consistent with previously captured data or checking for data completeness
You can check that the values you are about to capture or have just captured are consistent and within reasonably variation compared to data you have previously captured. There are various ways you can do this:
Account Summary page to view up to 12 months history and Records for that period. You can then click Actions > Capture Data in the top right of the summary page.
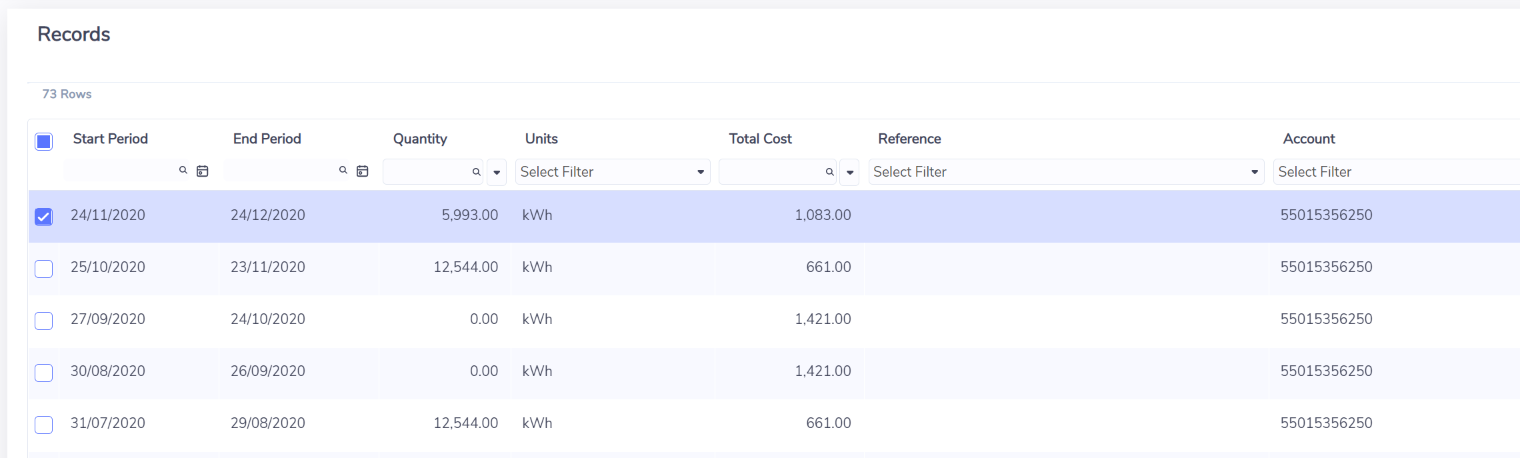
Records grid for the account (Accounts > Review > Records) to view previous Records you captured for the account. You can then click Capture Data (situated on the left above the grid).
At the time of data capture data, validation rules (that were set up when the Account Style was created by Envizi) are checked and feedback is given to you when you try to save the record.
Changing Account while staying on the Records grid
If you always want to view previous account Records before capturing a new one record for a different account, then a useful tip is for you to use the Organization Hierarchy or global search to navigate to a different account as this will keep the records gird open (for the account you most recently navigated to). In this way you bypass having to always first go to the Account Summary page.
Capturing Data by Location
You may have a pile of invoices or a spreadsheet with invoice information for a particular Location.
Option 1
Using Global search, select Accounts and then enter the Location name.
Option 2
From Manage > Accounts or the Accounts quick link on the home page the user can access a full list of accounts in the Organization.
Once in an Account grid page, you can then filter the grid for a particular Location by using the location column to filter.
Next Step
You can then sort the grid by the Account number so that their pile of paperwork or spreadsheet is sorted in this order.
You can then work down the rows in the grid and capture data by clicking Actions > Capture Data or right clicking > Capture Data.
Capturing Data by Supplier
You may have a pile of invoices or a spreadsheet with invoice information for a particular Supplier across all Locations.
Option 1
Using Global search, select Accounts and then enter the Supplier name.
Option 2
From Manage > Accounts or the Accounts quick link on the home page the user can access a full list of Accounts in the Organization.
Once in an Account grid page the user can then filter the grid for a particular Supplier by using the Supplier column to filter.
Next Step
You can then sort the grid by Account number of their pile of paperwork or spreadsheet is sorted in this fashion.
You can then work down the rows in the grid and capture data by clicking Actions > Capture Data or right clicking > Capture Data.
Capturing Data by Data Type or Account Style
You may have a pile of invoices or a spreadsheet with invoice information for a particular Data Type (e.g. Water[L]) or Account Style (eg. Electricity Large Market) across all locations.
From Manage > Accounts or the Accounts quick link on the home page you can access a full list of Accounts in the Organization.
Once in an Account grid page you can then filter the grid for a particular Data Type or Account Style by using the Data Type or Account Style column filter.
Next Step
You can then sort the grid by Account number of their pile of paperwork or spreadsheet is sorted in this fashion.
You can then work down the rows in the grid and capture data by clicking Actions > Capture Data or right clicking > Capture Data.
Tips for capturing data for multiple accounts
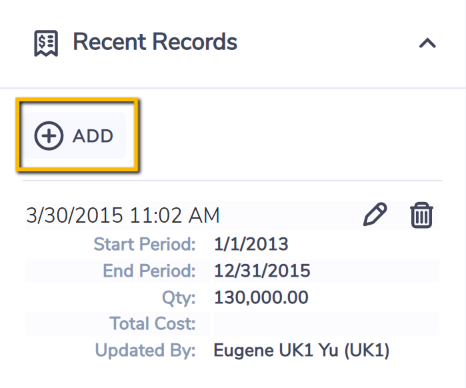
You are able to see the values of most recently captured records in the right hand preview panel under Recent Records section. After reviewing recent records, you can click 'Add' button to capture new data. The preview panel will show you a maximum of 6 most recent records. In this way you are able to verify the new values captured against historical records in the same accounts grid view, without having to navigate to the Records or account Summary.
The Recent Records preview panel is available from the accounts grid, on the right hand side:

After clicking on “Recent Records”, you will see the following, including the aforementioned 'Add' button.
Manually capturing data will not impact other records already manually captured or uploaded via a file. Example, if you capture a record for a period for which you already have a record you will have a duplicate record for that period. If you only want one record for the period then you should either delete the original record and create a new one or edit the original one.